SIMPLE DIY RAISED GARDEN BEDS
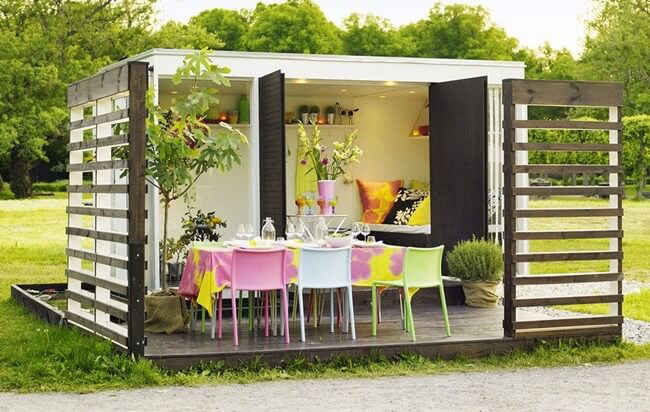
Raised beds are a great idea if you live in a subdivision or area where you cannot alter the soil or landscaping! If you have back problems or don't want to be in the dirt all the time, these easy-to-make raised bed plans are perfect for you!
We love growing our own food and were blessed with 8 acres to pursue our farming dream. But not everyone has 8 acres...not even a big backyard to dig grass and grow crops.
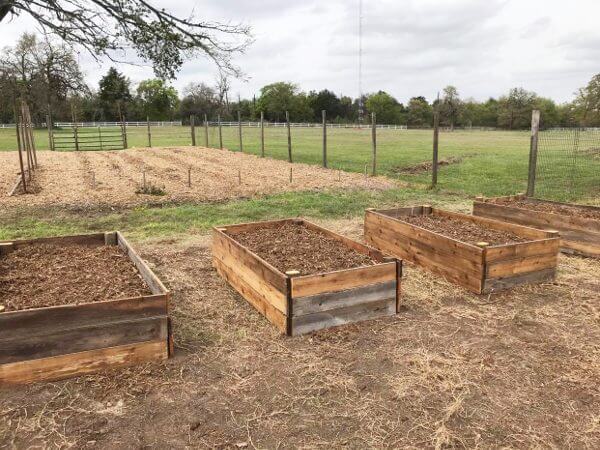
That's why last month we decided to build four raised beds with 18 square feet of garden space per bed to help people see how they can start growing their own food and document how much food they have. you can get from such a small bed!
If this sounds like something you'd like to do too, then these super easy, fast to build raised garden beds will be perfect for you!
HOW TO BUILD DIY RAISED GARDEN BEDS
We opted for a simple raised garden bed plan that would take minimal resources and last for a long time! These raised beds only took about 20 minutes each to build and used about $80 in materials (if you're buying it all).
We had everything we needed around the property and didn't have to buy a thing for our raised beds!
You may be in the same position, so take a look around your house and ask friends and family what they have on hand before you buy anything!
NOTE: These raised beds are 3x6' by 18" tall at full finished size. That is because we had a bunch of 12' long boards on hand. If you have 8' boards on hand make your beds 4x8 instead - so you can get the most out of your pieces!
REQUIRED MATERIALS
Here are the materials we used PER BED. Multiply materials by the number of beds you want to build.
1 - 8' 4x4 post
5 - 12' 1x6 boards
50 screws
NOTE: Try to stay away from treated lumber as the chemicals can leech into the soil and then into the food you'll be eating. Also, if you are able to get it, cedar is great for raised beds as it is naturally weather and bug resistant!
STEP 1:
Cut your post into 4 equal pieces. Be sure to measure the actual length before you start, or you might end up with 1 shorter piece in the end.
Cut your 3 of the 1x6 boards in equal halves, cut the other 2 boards into 4 equal sections (you'll have 2 sections left over).
STEP 2:
Place your first 4x4 post in the ground, about 6 inches down, and pack the dirt around it tightly.
Place a 6-foot board beside the post to help measure the needed distance for the other post. Place second post.
Repeat on the ends for the 3 foot boards and post - that should be all 4 posts in place!
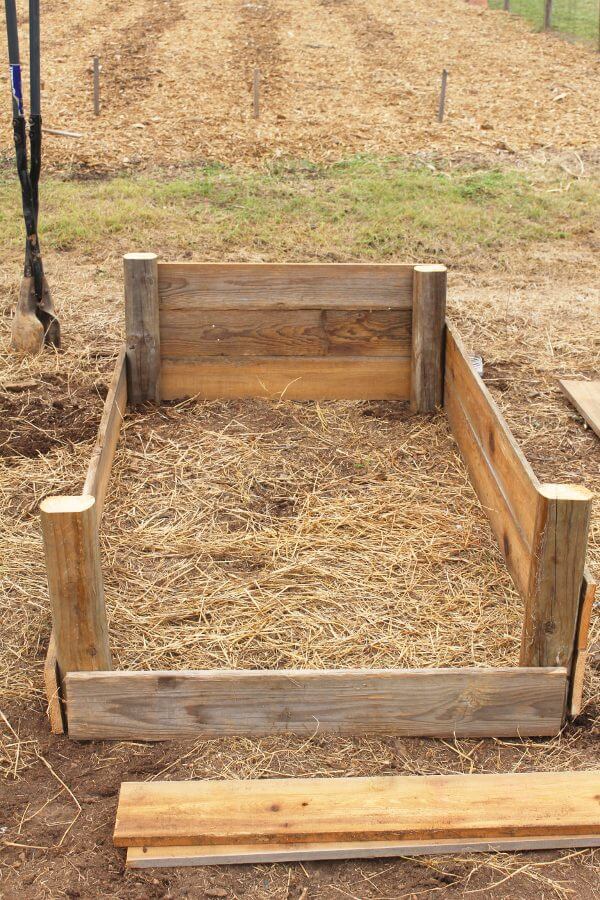
STEP 3:
Using 2 screws per end, per board, screw the boards to the posts. Three boards high per side.
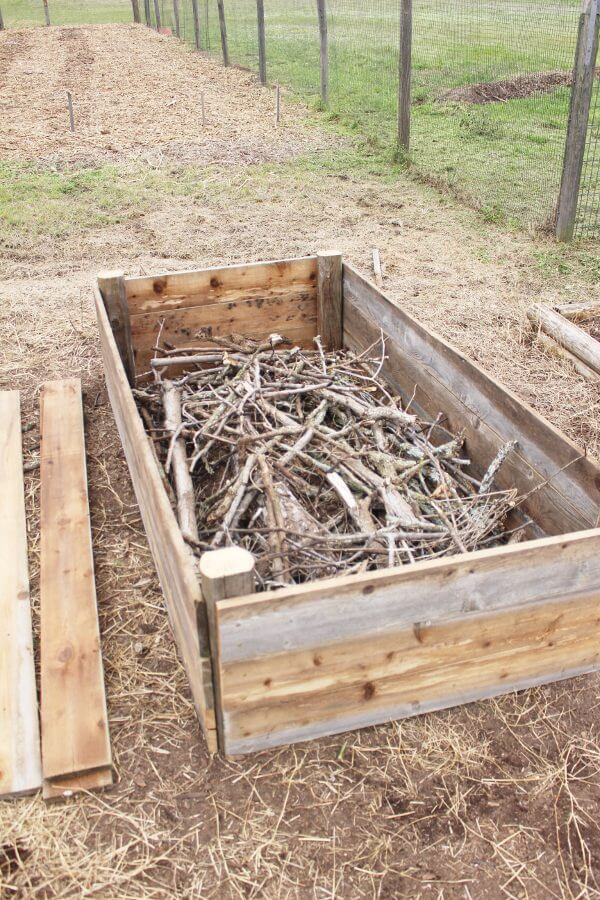
STEP 4:
Fill the bottom 10-12 inches of the bed with dead sticks and twigs. This helps take up room so you need less soil, and will break down over time to add to the quality of the soil.
Don't use fresh branches or sticks because they will use up nitrogen from the soil as they break down, stealing it from your plants!
STEP 5:
Fill the bed until you have 5 inches of top soil and fertilizer. Top with 2-3 inches of mulch!
We use the Back to Eden gardening method in the ground and in raised beds too! But if you want to use a more mainstream method for raised bed soil management you can also use a mix of sand, soil, and nutrients.
STEP 6:
Now you're ready to plant your vegetables or herbs!
You can plant anything in the raised beds, but be aware that plants like okra will grow too tall to reach after a while!
Carrots, root vegetables, zucchini, and lettuce are our favorite raised bed vegetables!
We get our seeds from White Harvest Seeds and always have high germination rates and huge produce yields!
That's it! A super easy, made to last raised garden bed that will help you grow tons of food for your family!
If you want some food preservation ideas for all the food you'll be harvesting, check out our food preservation articles!
Leave Comment